It is an indispensable tool for electronic production and electrical maintenance. Its main purpose is to weld components and wires. According to the mechanical structure, it can be divided into internal heating type electric iron and external heating type electric iron. According to the function, it can be divided into non-suction soldering iron and tin-absorbing type. Electric soldering iron is divided into high-power electric soldering iron and low-power electric soldering iron according to different purposes.

The soldering iron is generally composed of a soldering iron head, a soldering iron core, a casing, a handle, a power cord plug and the like. The soldering iron tip is mounted in a soldering iron core and is made of a copper alloy material with a thermally conductive copper as a base. Its function is to store heat and conduct heat, and its temperature must be much higher than the temperature to be soldered.
How to use soldering iron1. The soldering iron should be tinned before use. The specific method is: heat the soldering iron. When the solder can be melted, apply solder paste, and then evenly spread the soldering iron on the soldering iron to make the soldering iron evenly eat. A layer of tin.
2. Tin method on the wire head: Tighten the wire head into a twisted shape and apply solder paste. Dip a proper amount of solder with a soldering iron tip, touch the wire head and rotate the wire. After the solder is completely melted and immersed in the wire head, gently lift the wire head up and away from the soldering iron tip.
3. Wire and fork type terminal welding method: firstly tin the wire on the head, then insert it into the tail wire of the fork terminal, use the soldering iron to pick up the appropriate amount of solder, contact the solder joint, and solder on the solder joint. After all melting, the soldering iron tip gently lifts up the solder joint along the end of the twisted wire. The solder joint should be in the shape of a sinusoidal peak, the surface should be bright and smooth, no tin thorn, and the amount of tin is moderate.
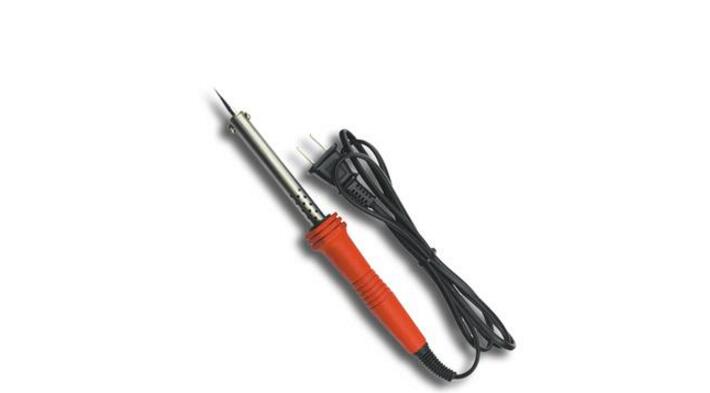
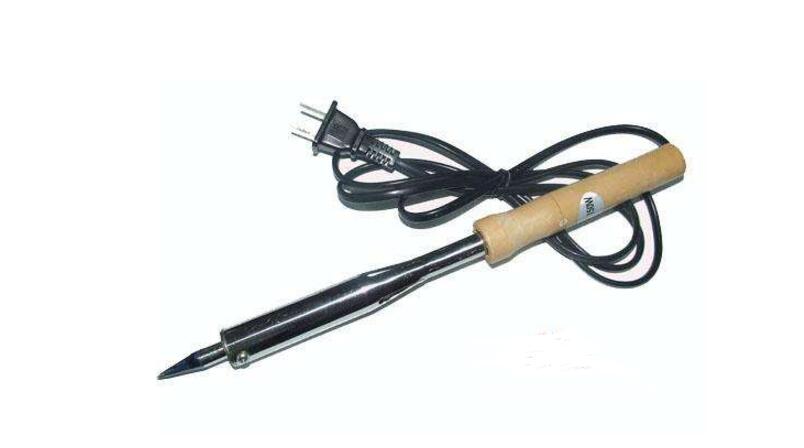
The soldering iron is divided into two types: external heat type and internal heat type:
The external heating type soldering iron is composed of a soldering iron head, a soldering iron core, a casing, a wooden handle, a power lead, a plug and the like. Since the tip is mounted inside the iron core, it is called an external heating type soldering iron. The iron core is a key component of the soldering iron. It is formed by winding the heating wire in parallel on a hollow ceramic tube. The mica sheet in the middle is insulated, and two wires are connected to the 220V AC power supply. There are many specifications for external thermal soldering irons, such as 25W, 45W, 75W, 100W, etc. The higher the power, the higher the temperature of the soldering iron.
The internal heat type soldering iron is composed of a handle, a connecting rod, a spring clip, a soldering iron core and a soldering iron head. Since the iron core is installed inside the soldering iron tip, the heat is fast and the heat utilization rate is high, so it is called an internal heat type soldering iron. The common specifications of the internal heating type soldering iron are 20W and 50W. Due to its high thermal efficiency, the 20W internal thermal soldering iron is equivalent to an external thermal soldering iron of about 40W. The rear end of the internal heat type soldering iron is hollow, and is sleeved on the connecting rod and fixed by the spring clip. When the soldering iron head needs to be replaced, the spring clip must be first removed, and the front end of the soldering iron head is clamped with the pliers. Pull out slowly, remember not to use too much force to avoid damaging the connecting rod.
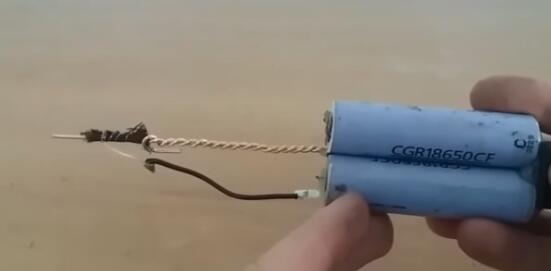
First, find a copper wire at home, then fold the copper wire in half and twist it into a twist.
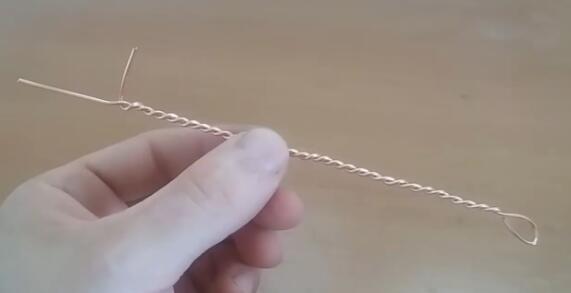
In order to prevent this wire from injuring others when it is conductive, it can be glued to the top with insulating tape. In order to make the insulating tape better, a wire is wound around it.

Next, we must prepare the source of fever - the battery. Take out two 9v batteries and secure the batteries together. Then insert the other end of the twisted copper wire from the gap between the two batteries. This electric iron is made.
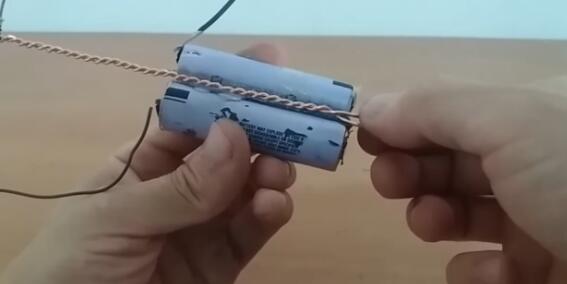
Finally, the other end of the copper wire is connected to the pole of the battery by a wire, and the homemade soldering iron can be used. Although the material is simple, it is convenient to brand some small items.
UPS used in industrial process control (semiconductor, automobile, etc.), transportation (subway, railway, etc.), infrastructure,
medical / hospital, water plant, mine
Uninterruptible Power Supply,Emergency Power Supply,Power Supply EPS,UPS Uninterruptible Power Supply
Jinan Xinyuhua Energy Technology Co.,Ltd , https://www.xyhenergy.com